Thursday, 6 August 2015

Sticker Haul – Finally!

Oh my gosh, I really meant to write this up so long ago! Unfortunately, life got in the way – For several weeks! I’ve been battling with our landlord to fix a damp issue inside our house, which ended up resulting in phone calls every single day! It worked, but the job is long & so drawn out. Fingers crossed they start it soon. Sigh. Then, I was diagnosed with gestational diabetes & my entire diet has had to have a massive overhaul! I might actually write a post about it, I’ve learnt so much in the last 4 weeks & I am sure there are women out there who are struggling like I was at the beginning. And then, finally, my lovely husband had to have surgery on his leg to remove some varicose veins! I hope you can all forgive me for being MIA for so long! I promise I am back with some great posts to come!
Today I am going to do a sticker haul! I was so looking forward to receiving my stickers in the post. I bought from 4 shops in total, all from Etsy & all varying drastically in quality, speed and price. The shops that I purchased from are: PlannerManiaKGPlannerSweetKawaiiDesign & ScribblePrintsCo. At the time of writing this, the shops are all in business (not currently on holiday).
PlannerMania: I didn’t get a lot from this shop, although I do love the design of the banners. I thought they’d look especially cute on birthdays & other special events. I can really tell that a lot of thought & effort has gone into these beautiful stickers. I have found them to be a little fiddly as they don’t have a white surround, however, this does mean that they look much better in my planner than others I have seen. Shipping was so quick with PlannerMania & their prices are reasonable.
IMG_0262

SweetKawaiiDesign: I bought a few cute photo sets from this store. I especially like the popcorns, I thought they would be perfect for making a note of the movies we’ve seen & the movies we want to see. Husband and I have this terrible habit of seeing a trailer on the TV or at the cinema, saying something along the lines of “I’d love to see that..” and then forgetting we ever saw it. Each month, I pop a little popcorn in my monthly spread & make a note of the movies that we’ve noticed that month. It’s working well so far.. When I remember to actually write down the name of the movie!
Below are a selection of the stickers that I purchased from the store. I adore their little emoji stickers. I don’t tend to use them too often, but it’s great to make special note of any particularly good/bad days & so on. The celebration stickers are cute for making special events stand out in my diary, I love the colour selection as well because I can use them in any month. The to-do flags have been a godsend, and I can write on them really well with the Erin Condren Party Pop Pens. No smudging or bleeding. They’re perfect. And finally, some lovely little baby boy stickers. I had to buy these as soon as I saw them! We are expecting a little boy, so every week, I decorate a page in my planner to indicate how far along I am, and include one or two of these babies! I especially love the little teddies. We refer to our unborn baby as our little bear, it’s an on-going thing.. So having the teddies is so perfect.
IMG_0376IMG_0377IMG_0374IMG_0375IMG_0371IMG_0372


KGPlanner: These stickers are big, bold and beautiful! I was hoping to use the scale stickers to monitor my pregnancy weight gain, but it’s not really worked out that way. I’ve not gained too much & I’m happy with that, so I might keep these to one side for after our little one arrives. The laundry stickers have been a god-send though, I adore them & they are great at reminding me when I did laundry & when I need to do some more. Now all I need are some ironing stickers, and I’m sorted! Oh, and maybe do some actual ironing too.. Moving on!
The bin stickers are stunning, there is a selection of colours, so again, I can match them to a theme. More importantly, there is a mix of regular bins & recycling bins. Perfect for where I live as our council alternates pick-up weeks for each bin & I can never remember what week it is without looking down the street. These stickers are stunning, and a great size. They seem a bit daunting at first, but they fit beautifully in the planner & I just love how bold they are. The weather stickers have to be my favourite, although I’ve not used many of them. I just can’t bring myself to use them!
Delivery on these stickers was slow, but totally worth the wait.
IMG_0835
ScribblePrintsCo: Last, but by no means least!! I was actually looking forward to these stickers the most! They were my biggest order, I actually cringed when I paid as it was just so much on stickers! But they will no doubt carry me through to next year, and then some!! Haha. They are glossy, which I wasn’t a massive fan of, but I’m coming around to them. This is my first ECLP & so I wasn’t sure what would work & what wouldn’t. I’ve got a nice stash of both glossy and matte stickers. The only major difference really, other than the glossy ones being shiny, is that with the ScribblePrintsCo stickers, I have to use my Sharpie to write on them. Which is totally ok as I currently have no other use for them.
The money stickers will be great for my maternity allowance, when I eventually send my form off & once I am off maternity leave, for my business. I am a self employed pet carer, so I don’t have a set pay-day as such. It’ll be so handy having this info at my fingertips, without having to go through my phone or my finances.
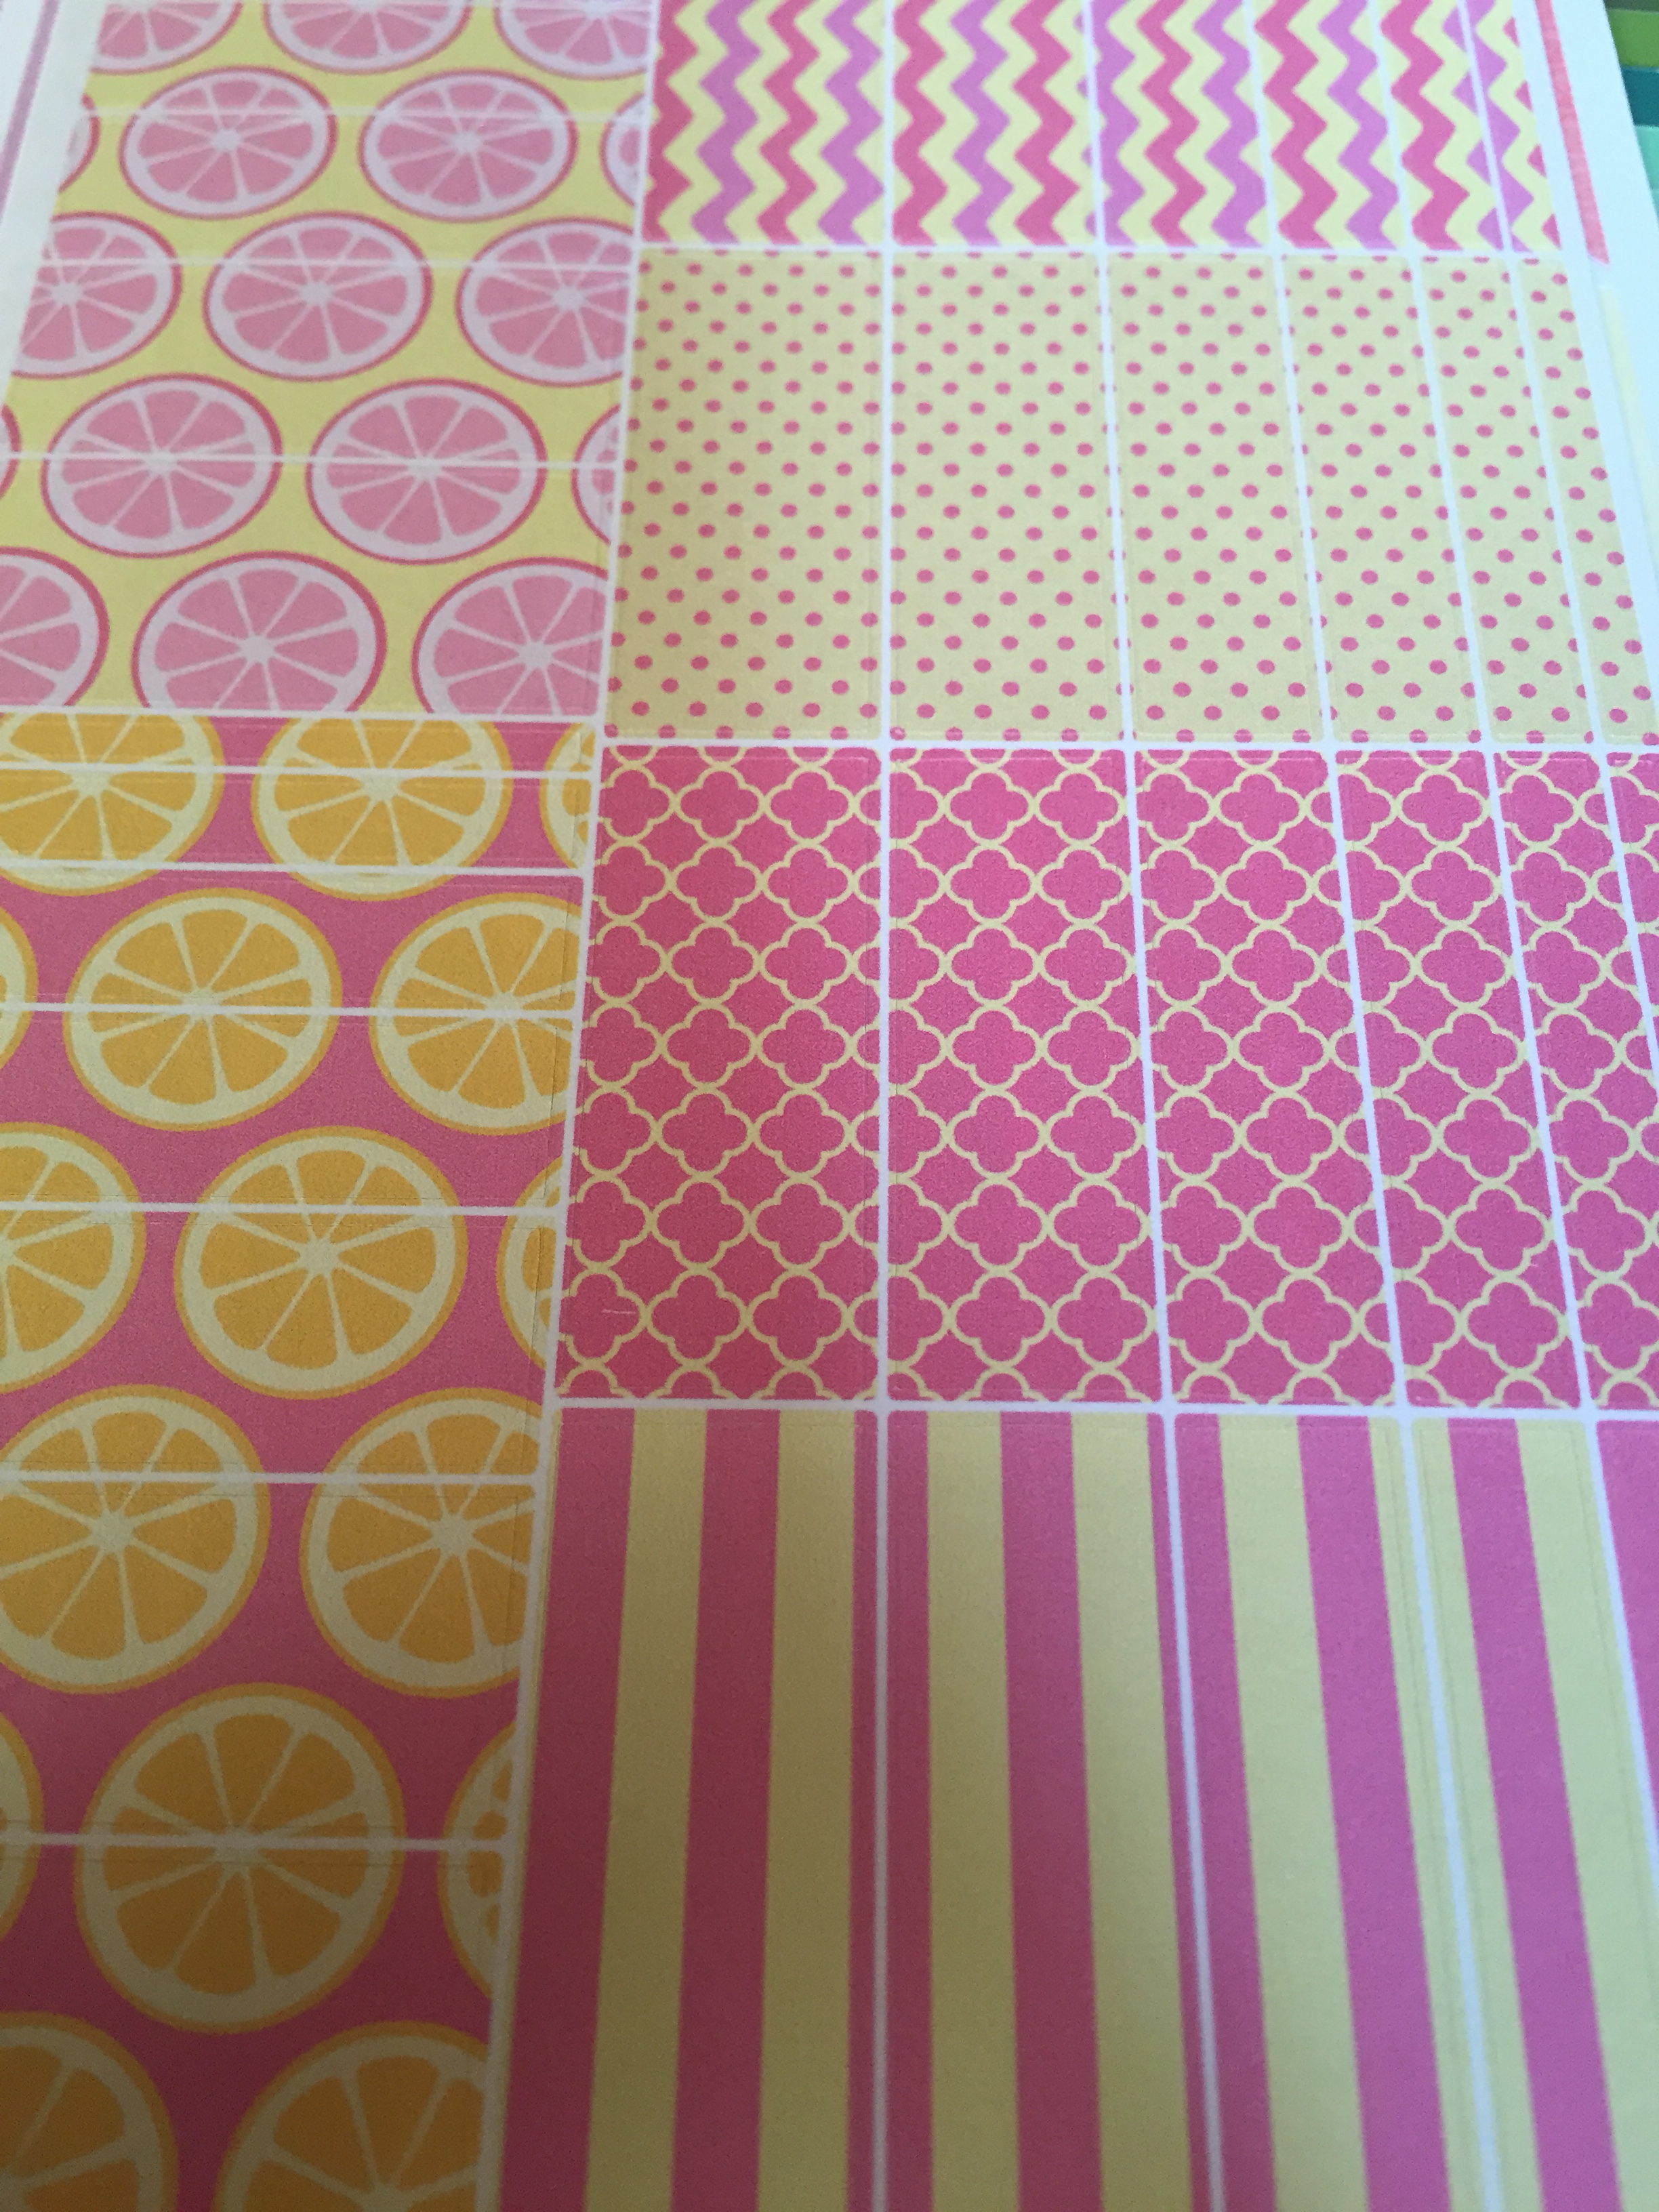
This is just a selection of the stickers that I purchased from this store, I have a few favourites – the lemonade set is definitely up there! There’s a photo below, also showing my cancelled stickers and one of the lemonade washi as well. I’ve just used these this week & I have to say, they are stunning!
The pregnancy week stickers were a late addition to my order, but they’ve been so useful & aren’t too intrusive at all. I just wish Erin Condren released the planner sooner, so I could have used more of them. How frustrating!
I bought a lot of their weekly spreads, which contain so many stickers, they’ll last me more than one week each spread! A few of the to-do heading stickers and heart bullet points. I’ve found that using the vertical layout, I have quite a bit of unused space (Boy do I wish I bought the horizontal now!), but that’s ok because I’ve been using my sticker squares to fill these gaps. It makes the planner look even cuter & less ’empty’.
I was so lucky with this order, I managed to get it in the brief time that ScribblePrintsCo was open after the ECLP launch, before they quickly closed again. Shipping was a little long, however this is not standard for them & I was made aware of it beforehand. These stickers were definitely worth the wait though.. And the hefty customs charge that came with them! Ouch!
IMG_0552
IMG_0547IMG_0546IMG_0548IMG_0551IMG_0550IMG_0545IMG_0544IMG_0542IMG_0543IMG_0540IMG_0541


There it is! My long-awaited sticker haul! I wasn’t sure how this would work in a blog post, if anyone has any suggestions on what they’d like to see in my next one, then please comment below & let me know. I’ve had so much fun using these stickers to decorate my planner. I’m still a complete newbie at decorating & my designs for each layout are nowhere near as extravagant as some that I have seen, but I do like the simple look, so it works for me.
I promise not to be away for so long next time! And I already have a few ideas of posts that I would like to put up. I’ve still got my second EC order to review & I have some super cute beauty & make up accessories coming in the post soon, so I’ll do a post on each of them as well. Watch this space!
One more quick thing before I sign off, I’d love to hear of any experiences with Glossybox &/ Birchbox. I am considering signing up to at least one of them – and of course, blogging my unboxings! But I am undecided which one to sign up for! Or whether I can justify buying both! I would love to read any thoughts on the boxes.
Take care all!
G


Friday, 3 July 2015

Pens, Pens & More Pens!

With my Erin Condren life planner, I also ordered a pack of their Party Pop Pens. I have to say, I absolutely love them! I was a bit cautious at first, I was certain that they would bleed through the paper, or they’d blur, but I have to say Erin Condren has really delivered with these. That being said, I do prefer a good ball point, rather than a marker, so the pen hunt continued! Unfortunately for my purse, I am a bit of a pen addict, so I purchased a few more than a couple of ball points.. Which is great for you, my readers! As it means you get an insight into some of the pens I have come across, how they write, whether they bleed through &, of course, how super cute they are!
I spent a lot of time looking for the right pens, I saw a few YouTube reviews on specific types & made a note of the ones I loved the most. This review in particular: “Which pens should I use in my Erin Condren Life Planner? Pen and writing samples by JenPlans” was by far one of the most informative & really seems to be popular amongst the planning community. After watching this, I decided to go with a few different options.
The pens I ultimately ended up purchasing were the Pilot G2 in black & blue, staples of the planning world! Staedtler Triplus Fineliners in pastel colours, Pilot Frixion Highlighters in pastel colours & Sharpie Ultra Fine Permanent Markers. I have to say, with the exception of the Sharpies (of course!), all of the pens were great on the planner paper – Despite rumours of it being thinner than ever. I’ve had no bleed through whatsoever, although I have noticed the Pilot G2 have actually been the worst for shadowing. This surprises me, however, the ink is more gel-like than it is with the markers.
On to the photos!
IMG_0431IMG_0430
IMG_0433
First up are the Erin Condren Party Pop Pens, these have lovely colours, although they do shadow slightly. Not really noticeable, and easily covered up with a sticker or more writing on the next page. I do love how these feel when I write with them. Above, you can see how they handled being written over with a highlighter pen. I have to say, the Party Pop Pens seem to have coped the best with the highlighters. Although the Pilot was the only one to actually smudge, the Smash! pen just doesn’t look as good. I have noticed that a day or so after highlighting them, the black does fade ever so slightly. I actually prefer this look, but not all will. The Smash! pen below doesn’t fade at all when you highlight over them.
IMG_0428IMG_0427IMG_0432
Next up, Pilot G2. I’m not as big of a fan of these as I thought I would be. I find them a little scratchy to write with & they do smudge if not left to dry for long enough. Even after I thought I’d left them long enough, I managed to smudge them using one of the highlighter pens, as you can see above. Not a pen I will use with a highlighter in the future! Great for writing notes though, so still a pen I will use.
IMG_0435IMG_0434
Interestingly, this isn’t a pen that I bought specifically for my planner, just one I happened to use for my Project Life. I love these pens & the fact that they have a glue stick on the top, something that I rarely use, but nice to have the option! I adore how they write though & they don’t bleed through, or shadow at all. And best of all, they don’t smudge! Hurrah. These bad boys are pretty cheap from most hobby stores that stock the Smash! range. I got mine from Hobbycraft in the UK.
IMG_0364IMG_0363
The Staedtler Triplus Fineliners are a dream! I am so happy that I found the pastel colours on Amazon for a good price. I probably won’t use them an awful lot for actually writing in my planner, but they are great for highlighting special notes. The colours are so vibrant and no bleed through at all! I might be tempted to invest in some of the regular, darker colours to write with in my planner, but for now, these are enough. I think the last thing I need are more pens..
IMG_0365IMG_0362IMG_0361
The Pilot Frixion have to be the best highlighters I have ever had the pleasure to own! And the fact that they are 100% erasable really is the icing on the cake for me. Again, I went for pastel colours, over the more common, fluorescent kind, just because I prefer a more subtle look within my planner. So far I’ve really only used these to highlight the times of events I have planned. So, just a little bit of colour, but I really like the look. Another great pen with absolutely no bleed through or shadowing.
IMG_0367IMG_0366And finally, the Sharpie Ultra Fine Permanent Marker. There’s not really much to say about these bad boys just yet! I have yet to use them on my Erin Condren Meal Planner, the website recommends using a permanent marker on that. I’m a little nervous about doing that, but it seems most people within the planner community have the best luck using nail varnish remover to get the pen off. It does seem a bit long winded & I’m not likely to have a bottle in my bag alongside my planner supplies, however, if it prevents smudging, or worse, the pen rubbing off onto the pages, then I am willing to do it! The Sharpie was the only pen to bleed through completely to the next page, but I was expecting that. They’re not really designed to be used on the paper itself. I have heard great things about them writing on stickers though. As soon as my stickers have all arrived, I will be doing a haul, so I will include a photo of how they handle that then.
IMG_0429
The last photo is the back of my test page, as you can see, only the Sharpie has really bled through – Even then, it doesn’t look as bad as you’d expect it to! There is a little shadowing from the Erin Condren Party Pop Pens, but it’s not completely noticeable, unless you get up close.
I really hope you’ve enjoyed my little pen haul! I think I’m going to have to ban myself from buying any more for the time being.. There will be more posts to come! As mentioned, I will be doing a sticker haul blog post, as soon as all of my stickers have arrived, and I am waiting on another parcel from Erin Condren today! So I will do another post about the other items I have purchased from them.
G

Wednesday, 24 June 2015

Fujifilm Instax Printer Unboxing & First Thoughts

I’m back with another unboxing! I have been so excited about getting one of these, ever since I saw someone rave about them on a Facebook group. I bought the printer & 20 shots pack so I could get printing my images right away. At first, I thought this would be perfect for my Project Life, but then realised that the photos are the perfect size to be popped into my planner too.. So, with the help of a CoilClip, I now have a photo of my two lovely pooches in my planner – Which incidentally is the only customising I’ve done with it so far as it’s so pretty, I still daren’t actually write inside it! (Not to mention, I’m still waiting on my awesome stickers to arrive from various Etsy shops!)
Onto the unboxing!DSC_0020
The printer & 20 shots arrived together in the same box.DSC_0030DSC_0031Once I’d opened the smaller, green box, I could see the shots on top, the instructions below (not pictured) and finally, the batteries and the Instax printer itself.
DSC_0022
The printer is stunning. A beautiful pearl white with very simple details. I am already in love!
DSC_0025
The front of the printer has several lights on it. The set on the left indicate the remaining battery power, and the ones on the right show how many shots are left. The images come out of the slot at the front, and right next to it is the power button.
DSC_0027The back of the printer has a few legal bits of information and the cover for the battery compartment.
DSC_0026
On one side is the reprint button, a hole for a power adaptor (supplied separately) & the side of the battery compartment. DSC_0028
And finally, nothing on the other side.
DSC_0029
On the base is some more information & the slider to open the paper compartment.
DSC_0033DSC_0035
Once I’d given the printer a good look over, I had a browse through the instructions. It was easy to set up, just pop the batteries in & open the paper compartment on the base using the sliding button. Once this opens, place the paper cartridge inside with the yellow dots aligned – as shown above.
DSC_0037
As soon as I pressed the power button, the protective cover from the cartridge printed instantly & I was ready to go!
DSC_0038
Next up, I needed to download the Instax Share app from the App Store. This again was simple to set up. Although, what was not mentioned in the instructions was how to connect the printer to my iPhone. Luckily, the app told me that I needed to connect it as though it was a new WiFi connection. I went into my iPhone settings & clicked into WiFi, once it had found the printer via an automatic search, I connected them to each other with the press of a button! Back to the Instax Share app & I was ready to print my photo. There are several editing options within the app itself, but it’s very primitive. It the future, I will most likely edit the images myself first before opening in the app.
IMG_0216IMG_0217
The paper came out really quickly & started to develop almost instantly. It did take a few minutes for the image to show details fully, but once it had darkened, it was great quality.
IMG_0220
The image is darker than I’d have liked it to be, so next time I will be sure to lighten it before sending it to the printer. This is something that I will have to experiment with. You can just about make out Sox in the background there, it doesn’t help that he’s a black dog on a black couch!
IMG_0219IMG_0226
I am looking forward to printing off more images in the future & using them within my Project Life folder, but for now, I have attached a CoilClip to this one & placed it inside my planner. It’s a great way to carry my pooches around with me while I’m out & about!
All in all, I am very pleased with the Fujifilm Instax. From it’s beautiful looks to it’s fantastic print quality. If I had to pick two things that I wasn’t pleased with, they would be that the images print darker than the originals & that the batteries are not easy to come by, like AAA or AA, which we have a large collection of in the home! Really though, these are tiny issues & easy to overcome. Now I just need to stock up on the cartridges & get printing!
G